Find Out Which PS2 BIOS To Use To Run PlayStation Games On Windows PC
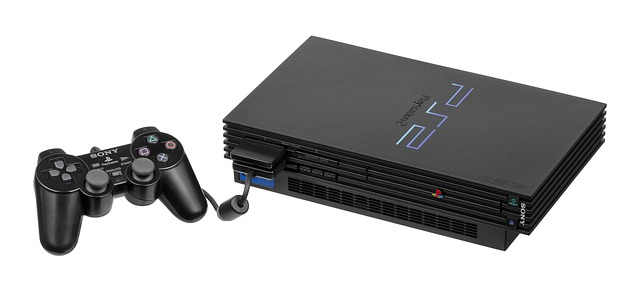
Those gamers who are on a low budget to purchase a PlayStation console to play popular games have to admit that a gaming emulator is a real god’s gift.

In fact, it makes no sense to buy expensive gaming consoles like PlayStation. If you know how to use an emulator and where to download ps2 bios, you will play easily on PlayStation title on your Windows computer.
Better still, you can download the PS2 BIOS files.
An emulator is software that enables you to play video games on computers without having to purchase the consoles. The emulator is able to read the PS2 BIOS files of all the PS games. You will use your PC as a display and a storage for ROMs. So, let’s take a look at how to run PlayStation games on your computer without any hassle.
You should know that emulators work with PS2 BIOS files in order to provide you the best gaming experience. These PS2 BIOS will enhance the graphics of the games by adjusting the resolution, shader, and a lot of filtering tweaks.
What Are The Main Steps To Run PlayStation Games On PCs with Emulator?
Do not think that this process is complicated. Below, you will find a complete guide to play PlayStation games on your computer using a PCSX2 emulator, as an example. It is not the only emulator you can use, but we find it quite efficient. So let’s get started.
The first thing you have to do is to choose the PlayStation emulator. You should pay attention to the most popular one which is called PCSX2.
A lot of gamers choose PCSX2 not just because it is a powerful emulators, but also because it makes it possible to configure graphics and controls settings. Note that emulators allow you to run only PlayStation games on your computer. If you want to run GameCube’s games, you will need another emulator. PCSX2 is available for Windows, Mac, and Linux computers.
Next, you have to run the downloaded file in order to launch the installation process of PCSX2 on your computer system. You will be redirected to a setup wizard. You have to press “Next” until you see the drop-down menus to choose from the plugins and configurations. They are important to get better gaming experience.

This step is a little bit complicated, so you should be very attentive. You have to input the PS2 BIOS files. These files are essential to tell from where you are playing the PlayStation games. The BIOS files are available according to the nation and the year. Gamers are requested to download the PS2 BIOS files in accordance to their correct location.
After downloading the PS2 BIOS files, you have to copy and paste the .zip file in the following location: C:Users[User Name]DocumentsPCSX2bios. Note that it is the default path for all PS2 BIOS files. When needed, you can change the directory according to your choice.
Next, you have to get the content of the zip file extracted. You must cut and paste it in the root directory of your PS2 BIOS. Then you should refresh the list of the PlayStation2 BIOS files in the setup wizard of the PCSX2 emulator. Now select the language and press the “Finish” button. Congratulations, you have just completed the PS2 BIOS setup process!
Install Your Favorite Playstation Games
Finally, we have come closer to the most-awaited step which is installing and playing your favorite PS games on your computer. So, you are free to install the desired games from any popular ROM website like Killerroms. Once you completed the downloading process, you have to extract the zip file and the ISO file (note that only ISO files are playable using PCSX2 emulator).
Now, come back to the PCSX2 emulator, press on CDVD option from the menu bar, choose ISO selector option, and browse the ISO file which you have just downloaded. Press the “System” option from the menu bar and then choose “Boot/Reboot CDVD.” That’s all you have to do to install the PlayStation game successfully.
In this step, we are going to learn how to configure the control settings to get the best gaming experience. You have to go to config>> Controllers(PAD) >> Plugin Settings. You must choose the PAD1 tab and then press “delete all” to get rid of the default entries. Now, you can configure the desired new entries.
Conclusion
So, you are well-informed about the complete procedure to install and run PlayStation games on computers using an emulator. The procedure may seem a little bit longer, but it is not difficult at all.